Learn how to easily view, edit, and add new venues in Affinect.
Editing a Venue- Affinect
](https://login.affinect.com/venues/2)
Navigate to Venue Settings
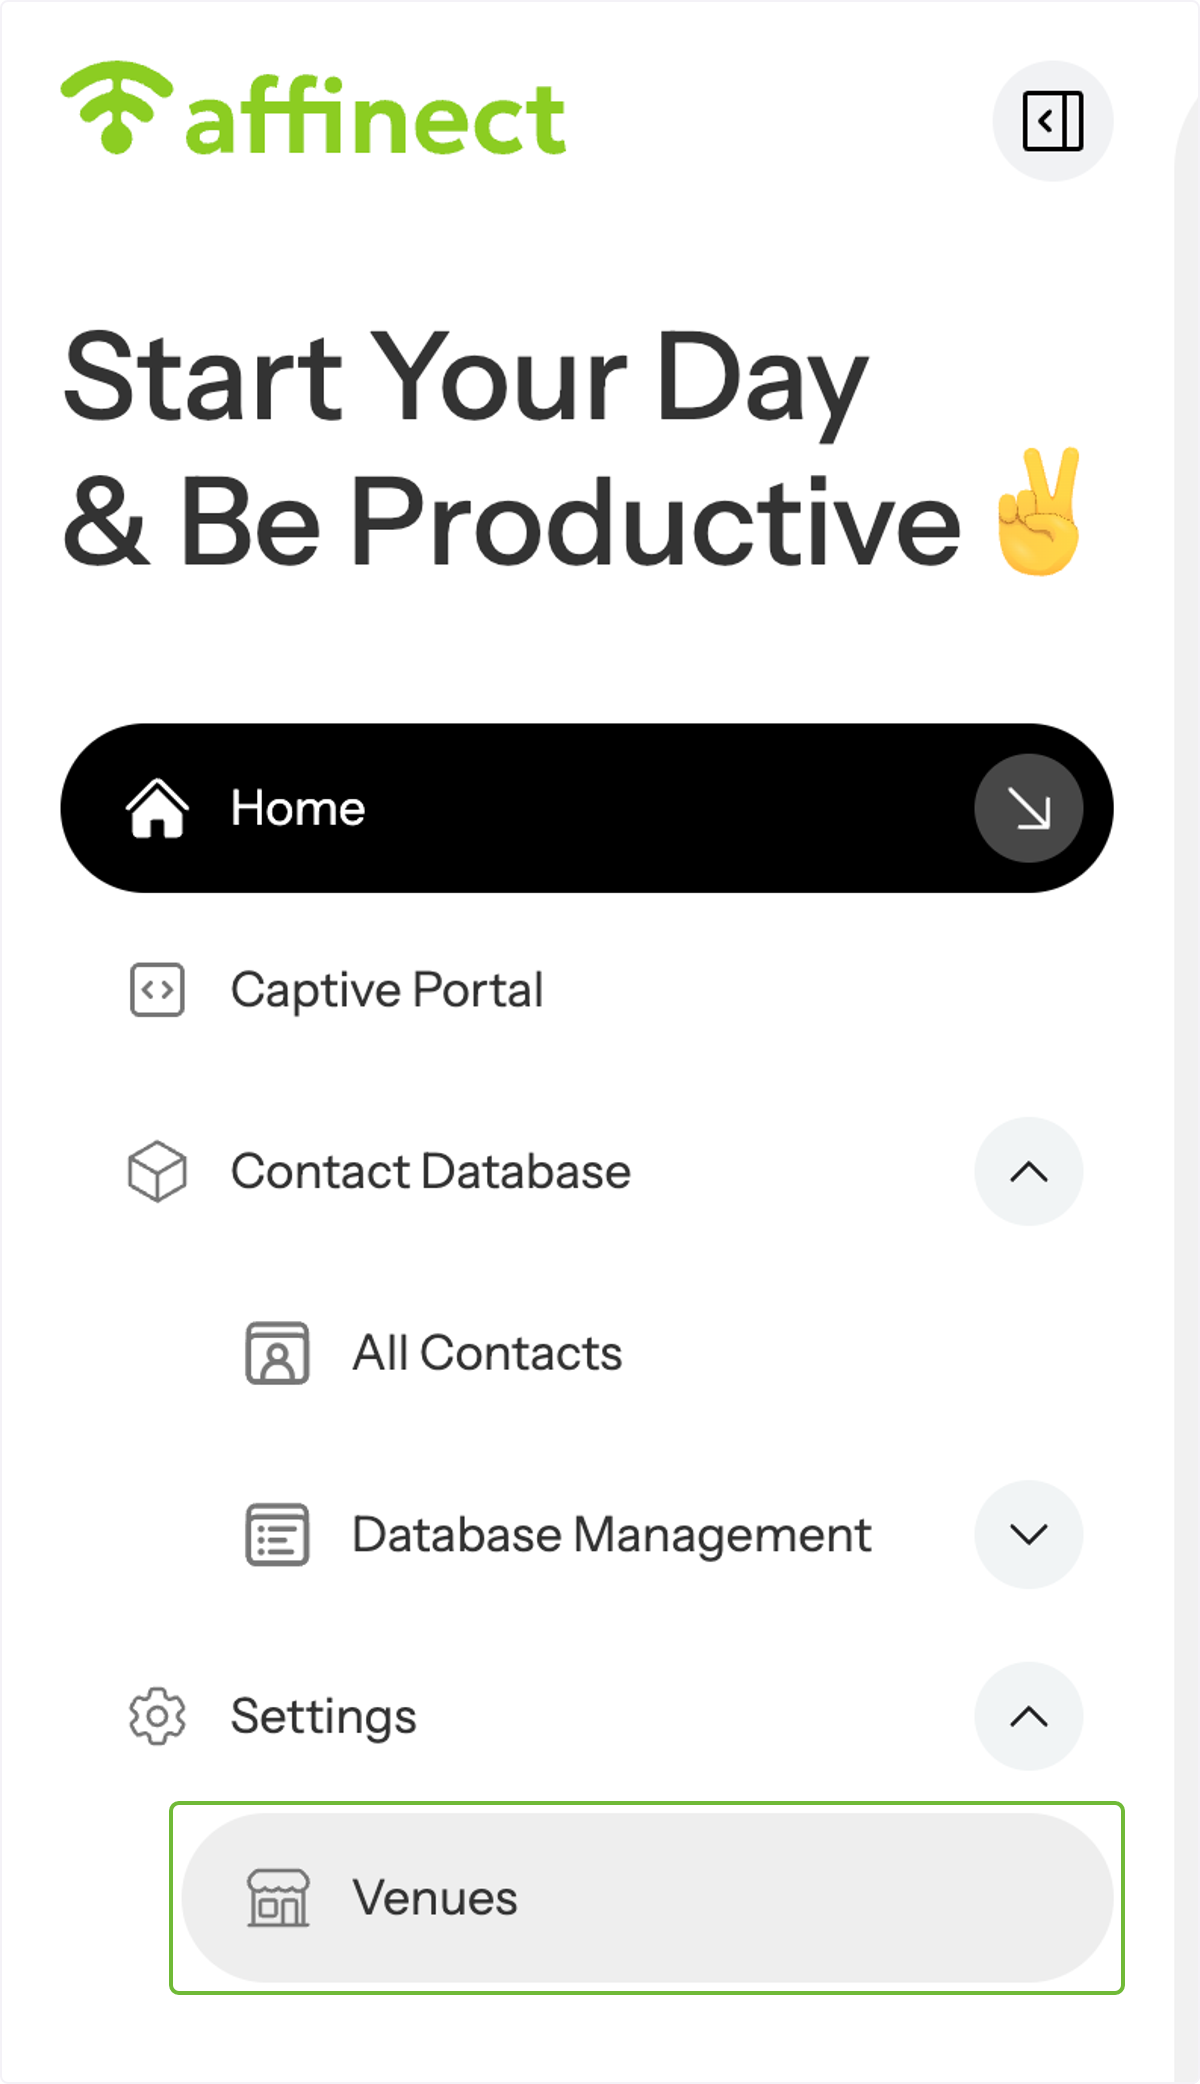
Click 'Settings' on the left-hand side of the dashboard and select Venues from the drop-down menu.
Preview and Search Venues
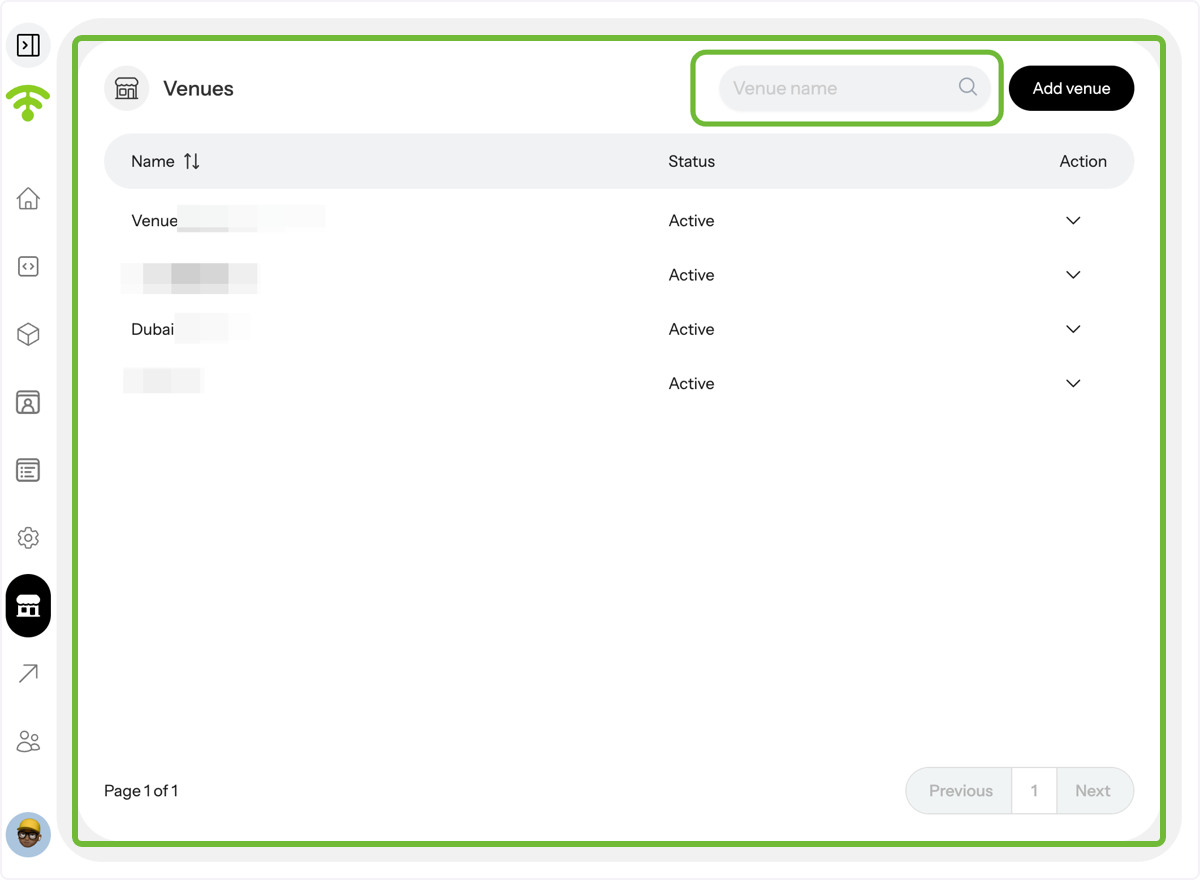
A preview of your added venues will appear, showing their names and current status. You can also search the venue name in the search bar for quick access.
Select a Venue to Edit
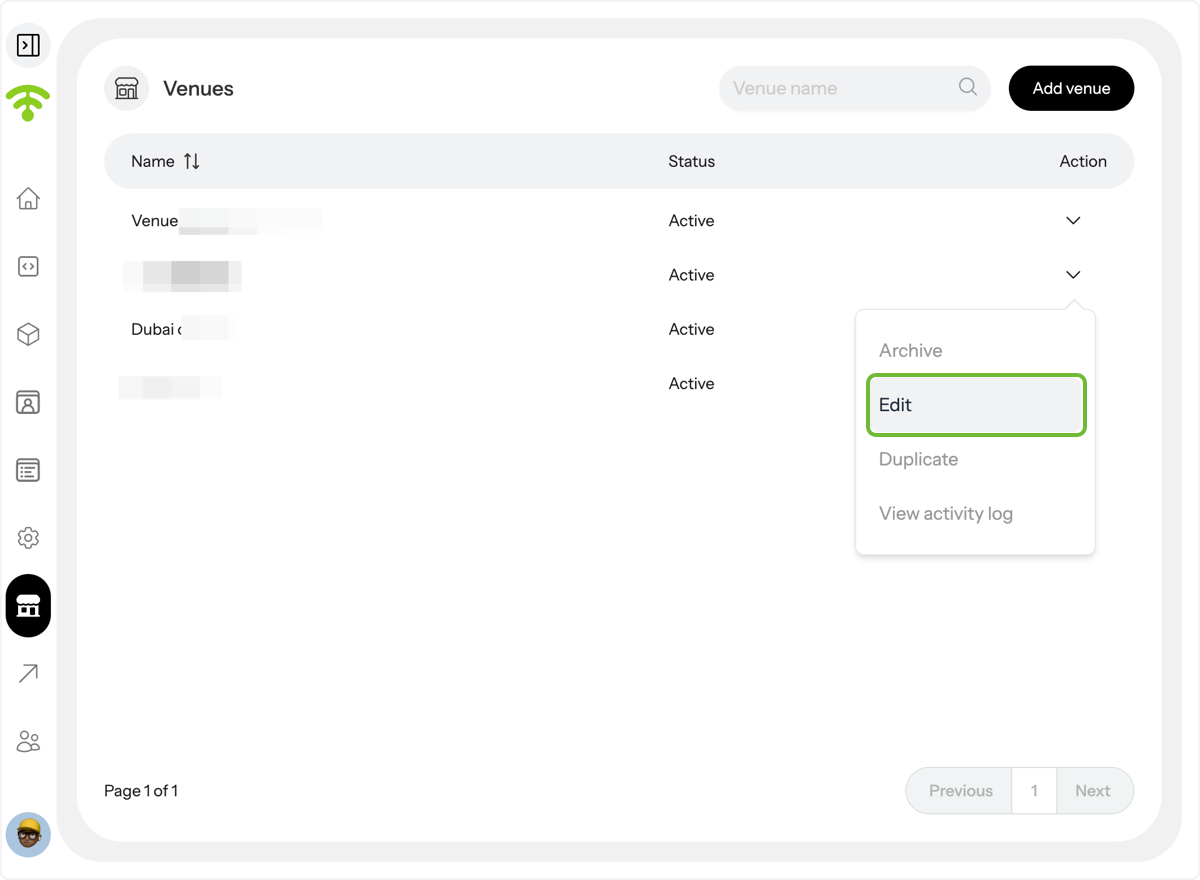
To edit a venue, go to 'Actions' next to the venue and select 'Edit' from the drop-down menu.
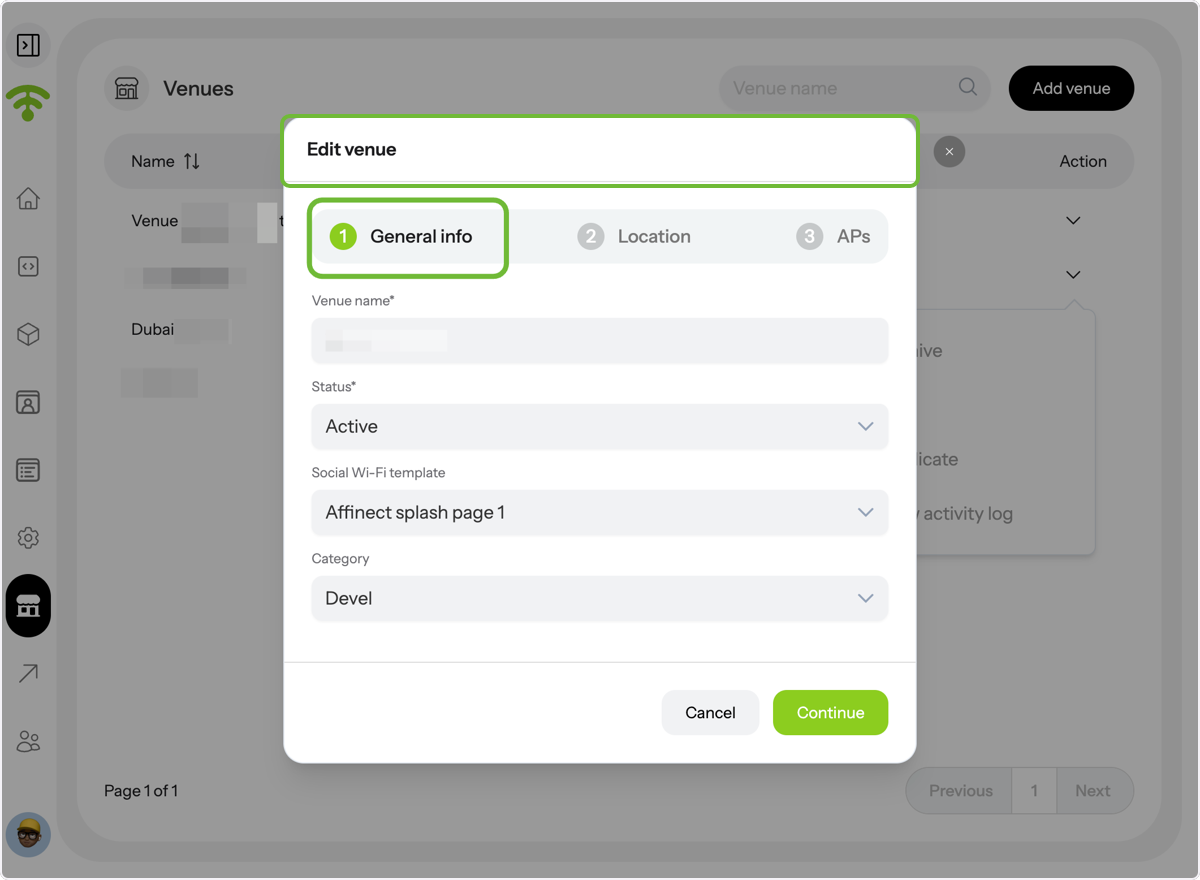
Update General Venue Information
When you click 'Edit,' the general information for your venue will appear. You can view and edit the venue name, status, the Social Wi-Fi template in use, and select from various categories such as hotel, gym, beach club, airport, and more.
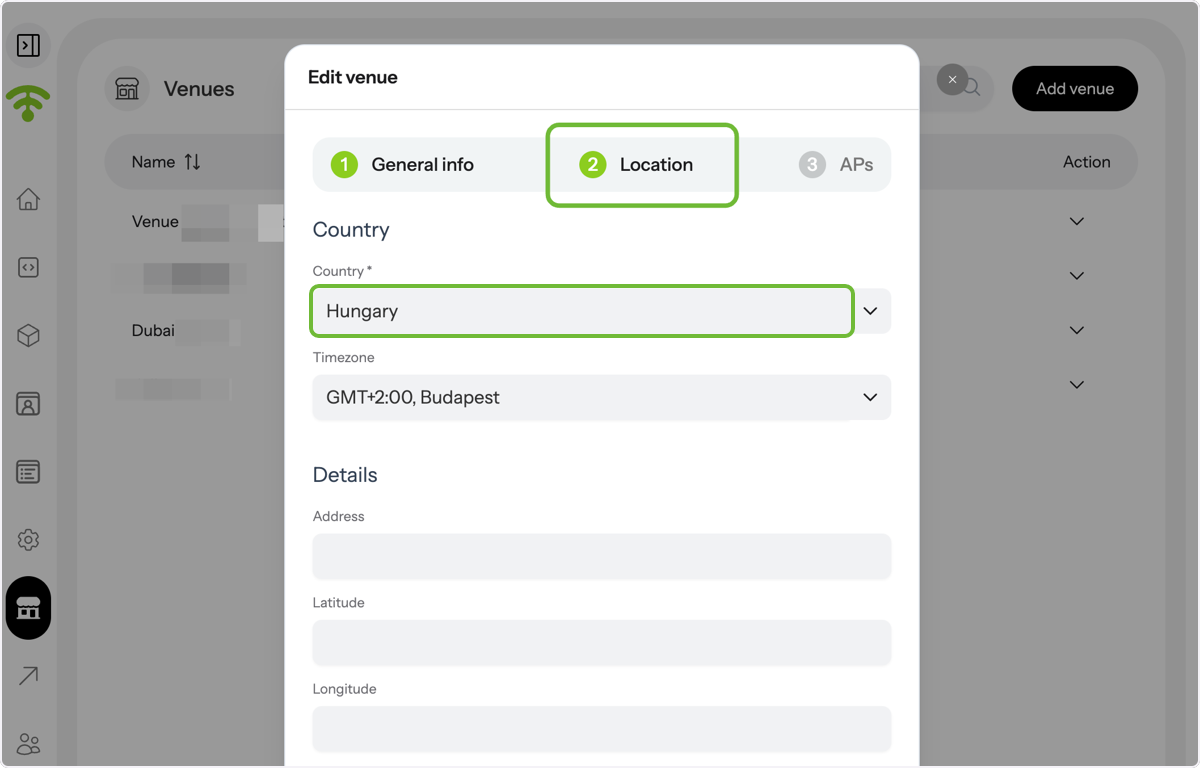
Edit Location Details
Click on 'Location' to edit details such as the country and time zone. You can also view, edit, and add more details such as venue address, latitude, and longitude.
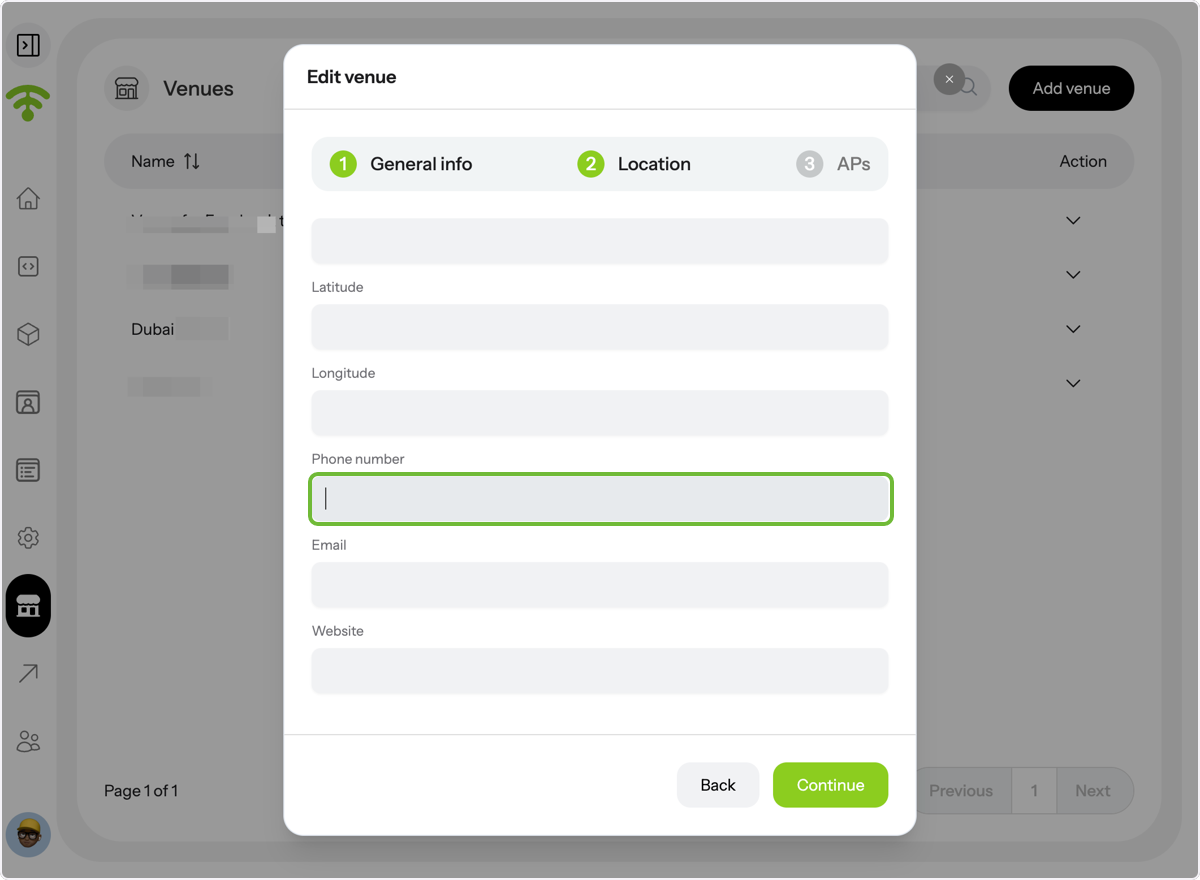
Add Contact Information
Under 'Location,' you can also add the venue's phone number, email address, and website.
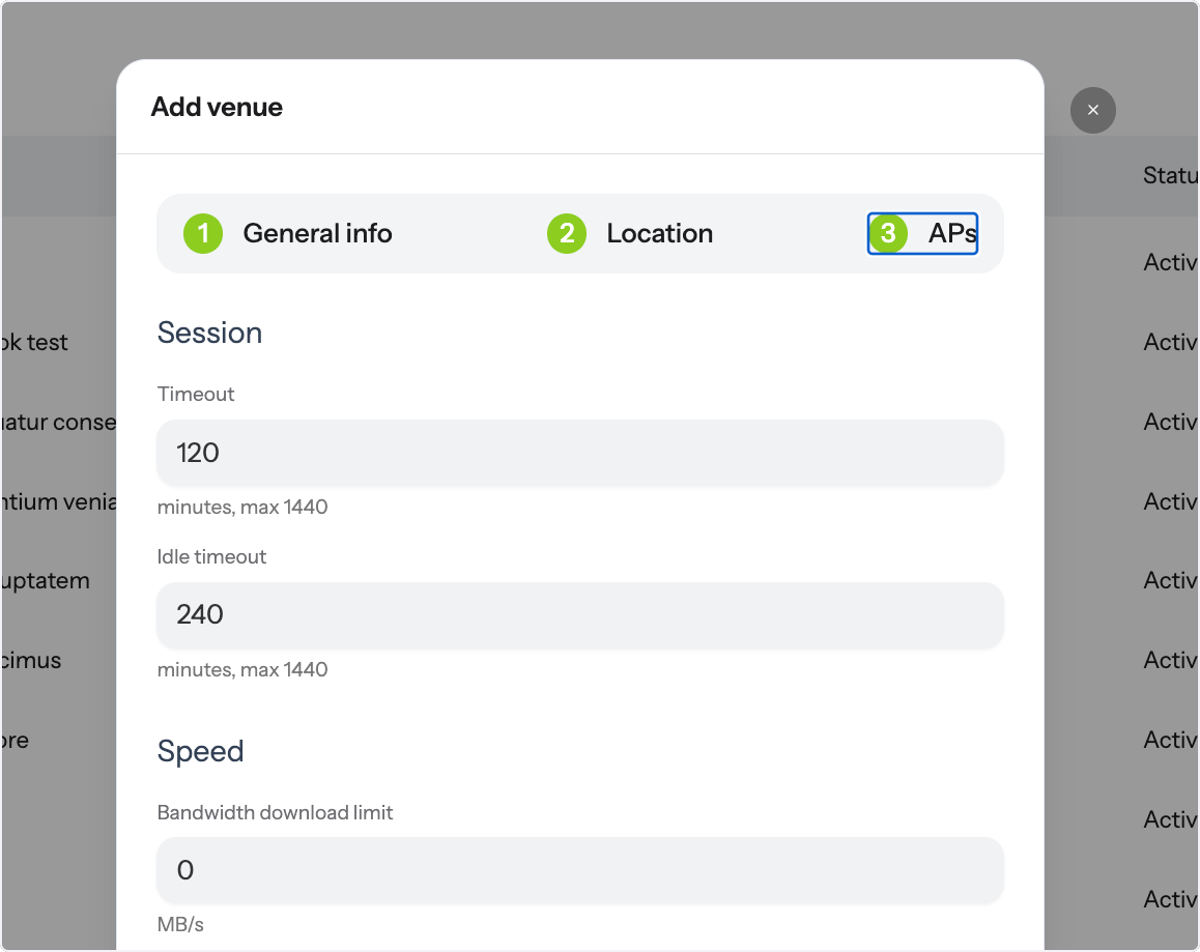
Adjust AP Settings
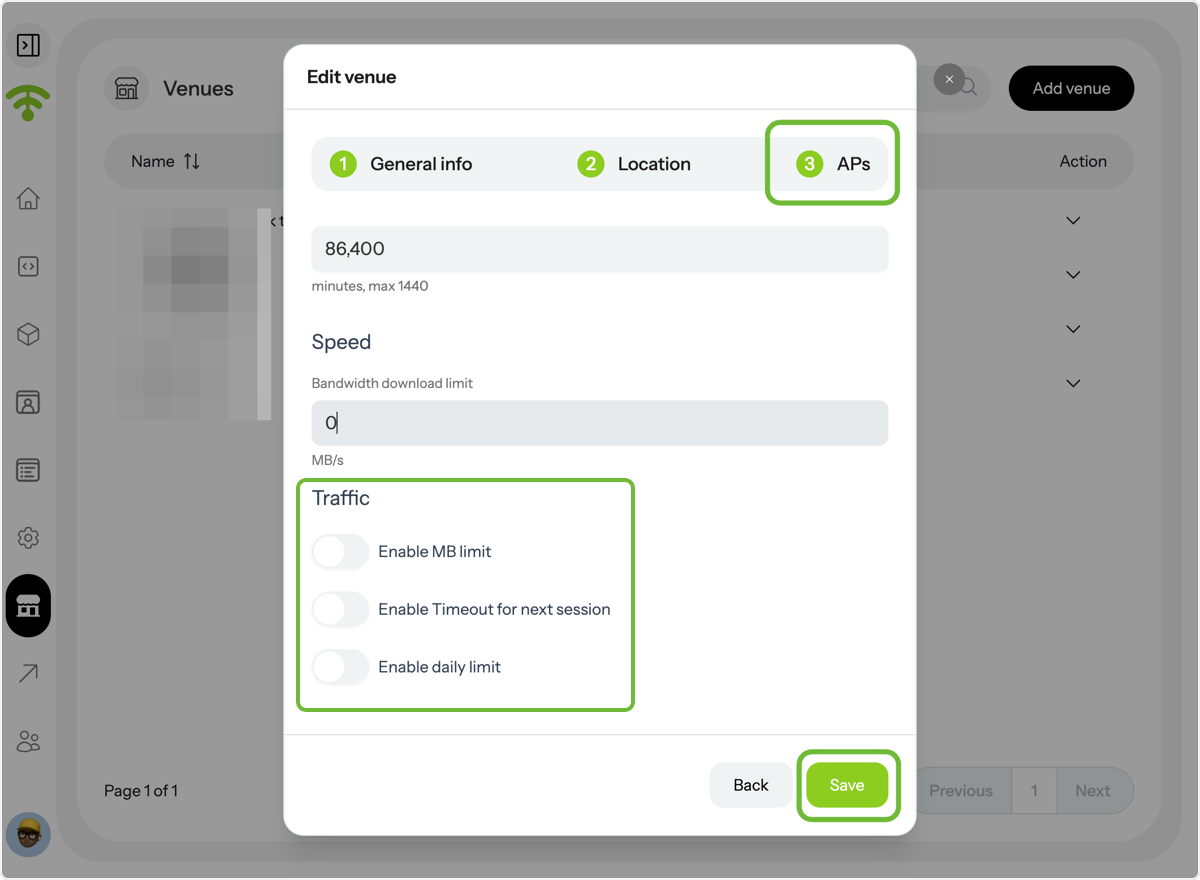
Click on 'APs' to view session details, including timeout, idle timeout, and bandwidth download limit settings for your venue.
Set Traffic Limits and Save
Under 'APs,' you can also enable or disable traffic and set specific limits such as MB usage, daily usage, and session timeout. Don't forget to click 'Save' when you're done editing.
[Adding a New Venue- Affinect
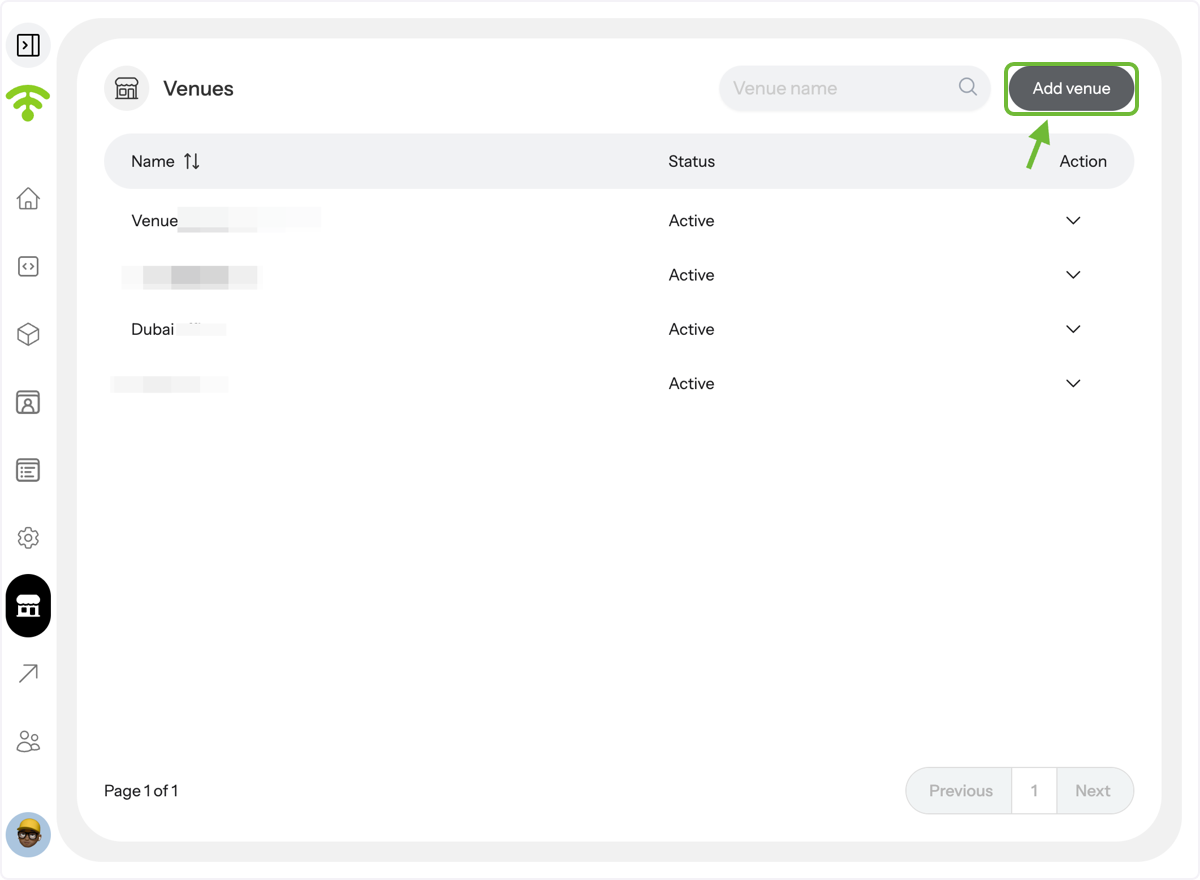
Click ‘Add Venue’
To add a new venue, click on 'Add Venue' in the top-right corner.
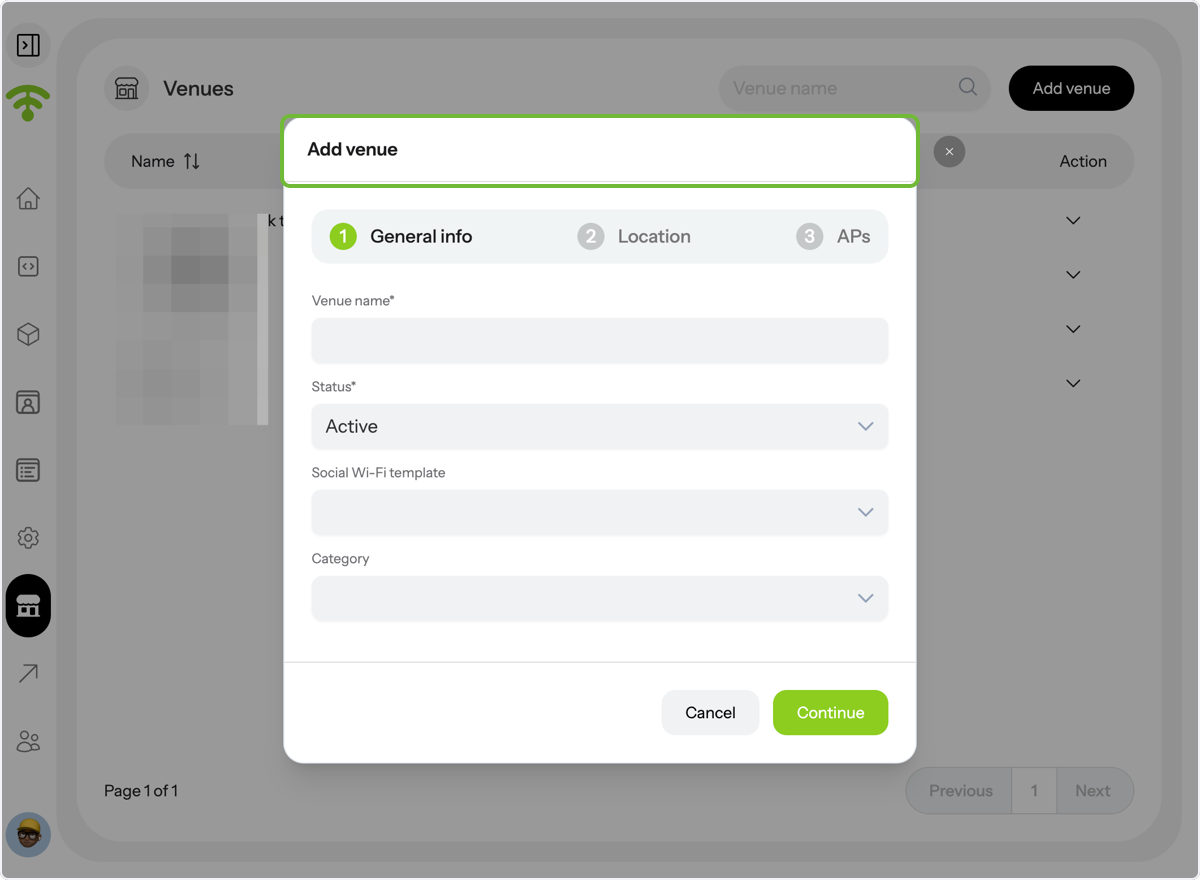
Fill Out Venue Details
When you click on 'Add Venue', a tab similar to the 'Edit Venue' will appear—follow the same steps as above to complete the process.
Finalize and Save
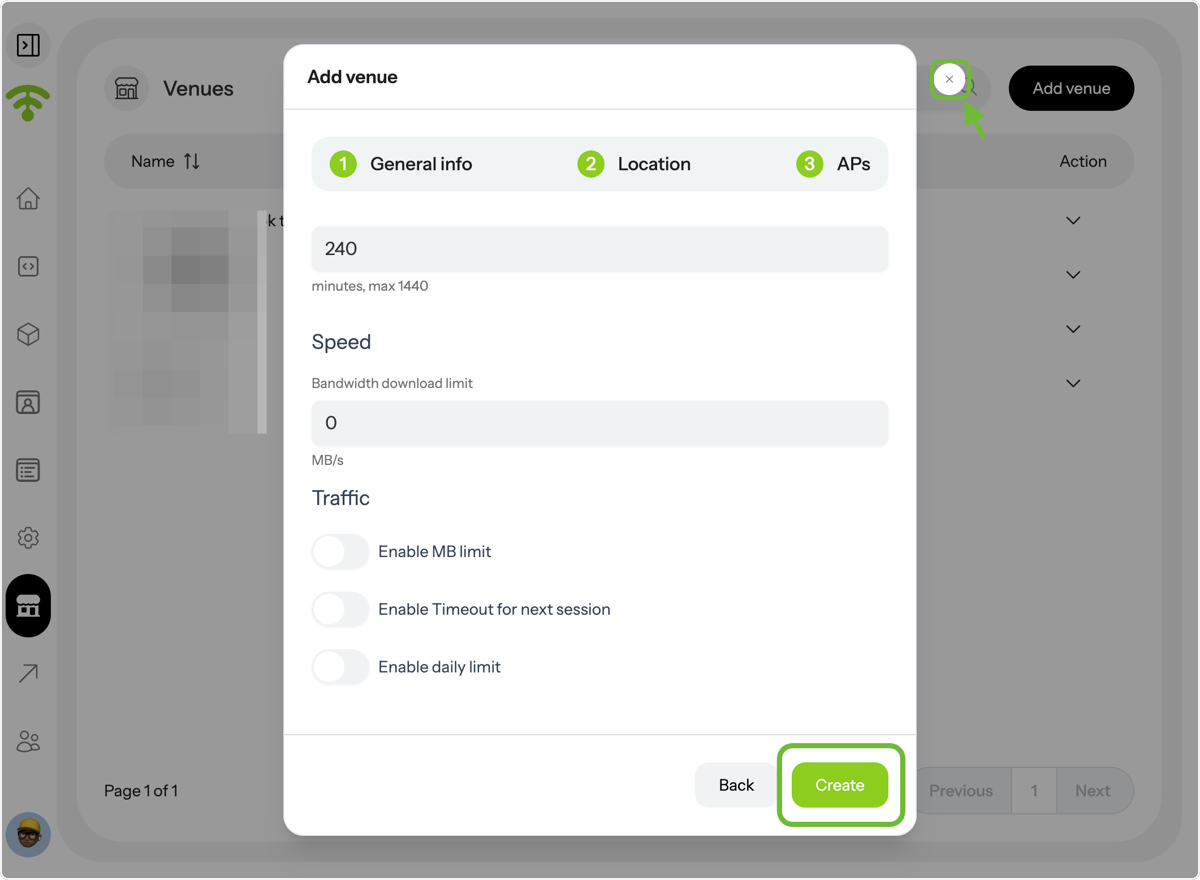
Once you're done, click 'Create' and close the tab by clicking the cross next to it. Tada! That's all. Happy Connecting and Managing Your Venues!